How to choose the fabric and make a bag with machine embroidery
Bags, purchased or handmade, are popular items on which to embroider. Useful for a variety of purposes, they are easy to construct from a piece of fabric and a length of nylon or cotton webbing. when planning machine embroidery on a bag, consider the following:
1. what type of fabric is it?
2. Where will the embroidery be placed?
3. How will the bag be used?
4. Can the bag be hooped?
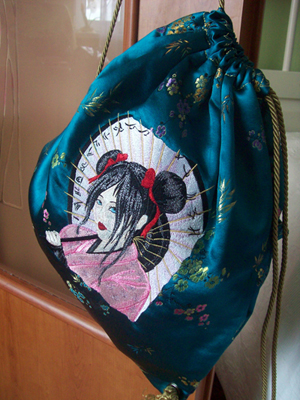 For bag that will receive rough treatment - such as gym bags - select machine embroidery designs that have more textured fill stitches than satin stitches, as these wear better than wide satin stitches.
When making bags from scratch, stitch the embroidery on the fabric before constructing the bags. Include fabric and design selection, as well as design placement, in the planning process - this makes it easy to custom-make everything exactly as you want.
The process isn't quite so simple when using ready-made bags; in these cases, there is some analyzing to do before stitching the embroidery. First, decide where the embroidery design will be placed. measure to determine the maximum size design that can be stitched in the selected area.
Next, determine whether the selected area can be hooped and placed on the embroidery machine. If it can, great; proceed with stitching the design as usual. If it cannot be hooped, hoop the approprate backing or stabilizer for the fabric and the design. In this case, it is a good idea to use a stabilizer which is slightly heavier than normal. Decide which way the design should be oriented for the easiest machine access. Spray a small amount of temporary adhesive on the stabilizer, then gently smooth the bag into place. During the embroidery process, avoid removing the hoop from the sewing-embroidery machine; sometimes slippage can occur when items are hooped on this manner and handled excessively.
Tip: If the embroidery machine has a top-loading bobbin, check to see that it is full before attaching the hoop.
If the embroidery machine is equipped with a freearm feature, then working with small ready-made bags or stitching in awkward places may be easier to accomplish. By opening up a seam, a tube can be created so the bag can be hooped and slipped over the freearm for embroidering. After completing the stitching, resew the opening.
 Instant Download


